
Resources
Stone Veneer: The Complete Miami Guide
Everything worth knowing before you spend money on it — written for South Florida conditions rather than a national average.
By Miami Stone Veneer Specialists · Updated July 20, 2026
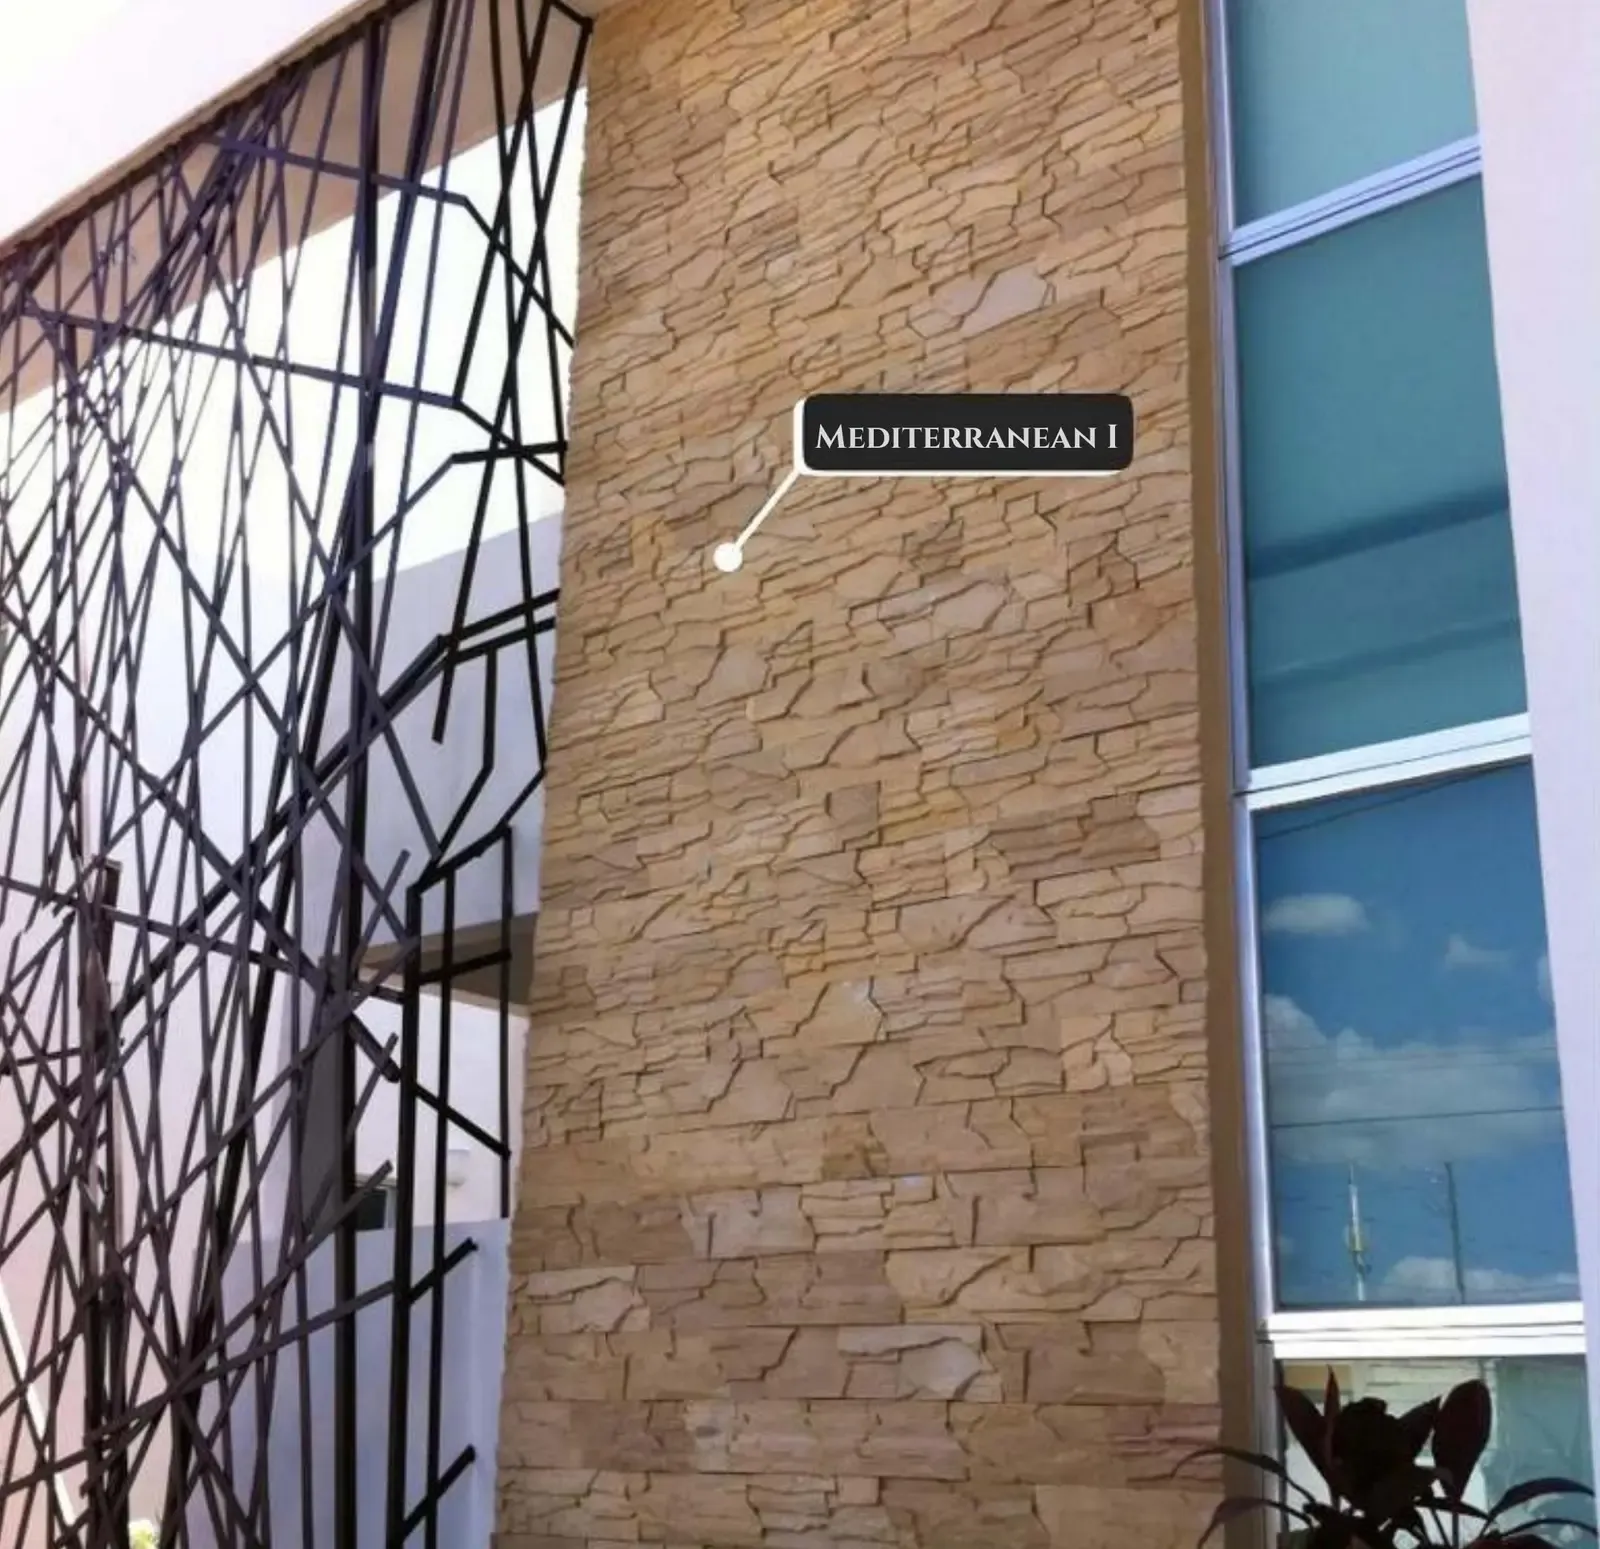
Miami Stone Veneer Specialists has been supplying and, before that, installing stone in Miami-Dade for years. This guide is the version we'd give a friend — including the parts that cost us sales.
What stone veneer actually is
Stone veneer is a thin facing applied to a wall for appearance. It carries no structural load. That's the whole idea: full-bed masonry stone needs footings and wall ties, which makes it an engineering decision. Veneer is a finish.
At roughly 11 to 15 pounds per square foot, adhered veneer sits under the threshold that triggers structural review in most residential work. It goes on a standard wall the way heavy tile does.
The two types, and which you want
Natural stone veneer is quarried rock sawn thin. Real geology, real variation, roughly three times the weight, and two to four times the price.
Manufactured stone veneer is concrete cast in moulds taken from real stone. Sometimes called cultured stone — same thing, brand name that went generic. Lighter, cheaper, more consistent, and it repeats.
For a facade viewed from more than about fifteen feet, manufactured is the sensible answer and the saving is better spent on a good installer. For historic work, close-contact surfaces, or anywhere a review board is involved, buy the quarried stone. Our full comparison goes deeper.
What it costs in Miami
Material runs $9 to $19 per square foot for manufactured, $25 to $60 for natural. Installed, budget $22 to $38 per square foot for manufactured stone including prep, mortar, and sealer.
Two numbers people forget. Corner pieces are separate items priced per linear foot, typically adding 10 to 15%. Waste allowance is 10% on regular coursing, 15% on irregular formats. Our cost breakdown has the full picture.
How it's installed
Over concrete block: bonding agent, scratch coat, stone. Simple, and block doesn't care about moisture.
Over framing, it's more involved and this is where things go wrong:
- Weather-resistive barrier over the sheathing
- A second drainage layer — this is the one people skip
- Metal lath, fastened into the framing, not just the sheathing
- Scratch coat, cured
- Stone set in mortar, then pointed
- Penetrating sealer
Flashing at every opening and a weep at the base of the wall. Water will get behind the stone — that's expected. It has to be able to get out.
What Florida changes
National guides optimise for freeze-thaw. Here the enemies are different:
- Salt. Near the water, pale stone and more frequent sealing. Dark stone shows mineral bloom within a season.
- Humidity. Use breathable penetrating sealers. Film-forming sealers trap vapour and blow off.
- Driving rain. Hurricane-season rain is horizontal. Flashing details matter far more here than in a dry climate.
- Termites. Never clad a timber-framed outdoor structure and seal it up. You've built them a house.
Maintenance over 30 years
Genuinely light. Rinse it once or twice a year with a hose and a soft brush. Re-seal every seven to ten years inland, five to six near the ocean.
What ruins stone walls is over-maintenance: pressure washers driving water behind the face, and acid washes etching the surface. Both are common and both are worse than doing nothing. See how to clean it.
Choosing a collection
Decide in this order: where it's going, how big the wall is, what profile, then colour. Most people start with colour and it's the reason so many walls end up slightly wrong.
The one technical rule worth remembering: the bigger the wall, the more face formats you need. A collection with three formats will visibly repeat across 2,000 square feet. Ours carry six or seven for exactly this reason.